Author: Uday Bambal
Introduction
Without writing an Dockerfile, you can create a Docker image and deploy it in a container!! Give it a thought.
Imagine deploying 3-4 Docker projects in 10 minutes without writing a separate Dockerfile. Sounds fun right!! 🤩
So today in this blog, I will show you how to create Docker images, there containers and to deploy those container on AWS EC2 Instance, that too without Dockerfile.
We can achieve this using BuildPack, which is a tool of CNCF (Cloud Native Computing Foundation). Using this we can create an image directly.
What is BuildPacks?
Buildpacks (often referred to as Cloud Native Buildpacks) are a tool developed under the Cloud Native Computing Foundation (CNCF) that help automate the process of packaging applications into container images, without requiring developers to write Dockerfiles. They handle the complex work of determining the right environment setup, dependencies, and configuration needed to run applications in containers. Buildpacks emerged from the need to simplify containerization and have gained traction because of their developer-friendly and cloud-native approach.

Getting Started
Let see how to do that practically.
Just login to any cloud service you want. I am using AWS EC2 here.
Launch an Instance with Ubuntu OS, t2.micro as Instance type, create key-pair, in Network Settings allow ssh, http, https.
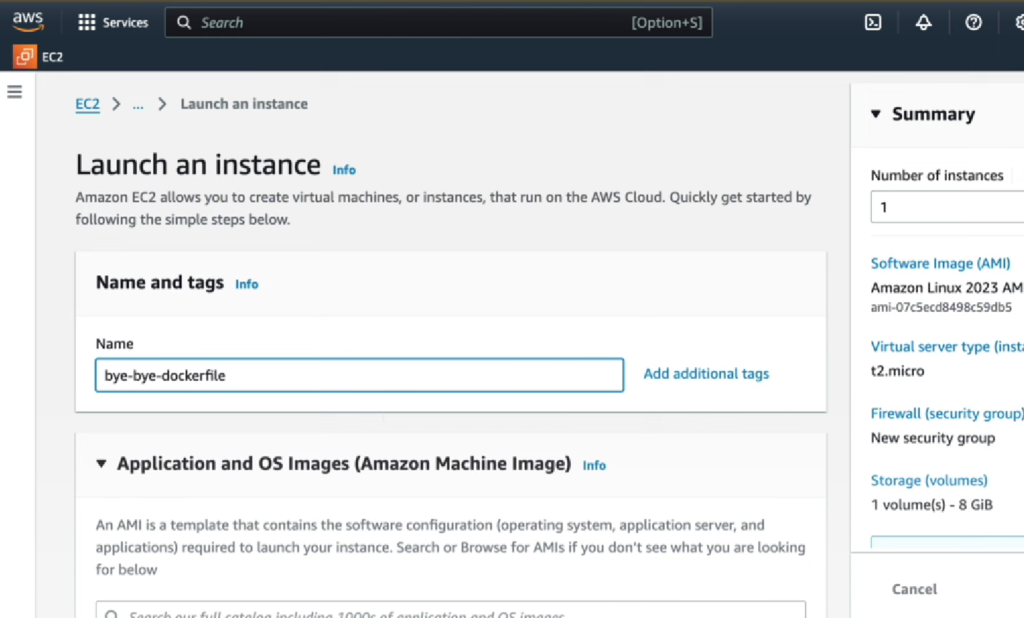
Login to that same instance.

Clone the repository https://github.com/udaybambal/buildpacks-django-notes-app/tree/master
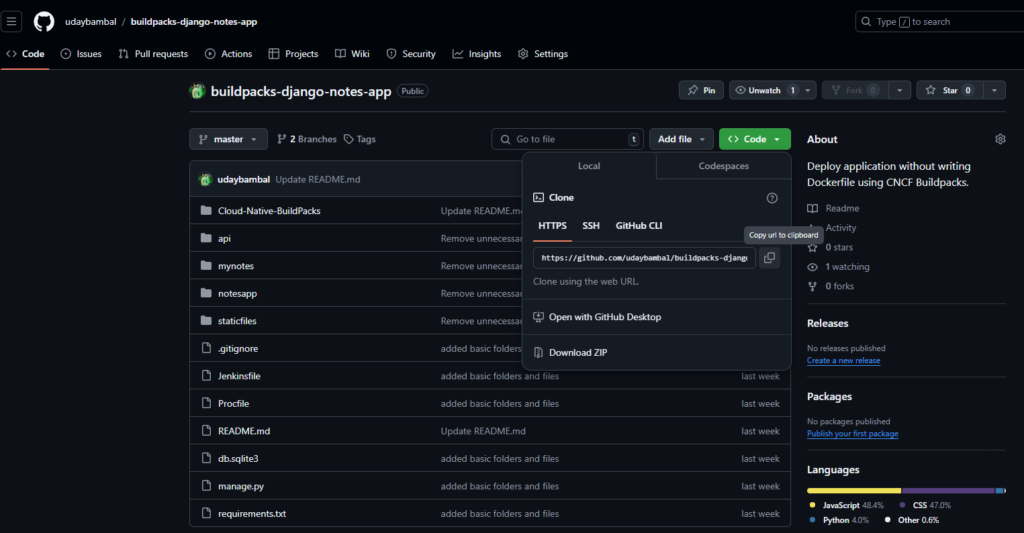
git clone https://github.com/udaybambal/buildpacks-django-notes-app.git
cd buildpacks-django-notes-app/
You can see all the repository files are cloned perfectly in your instance.
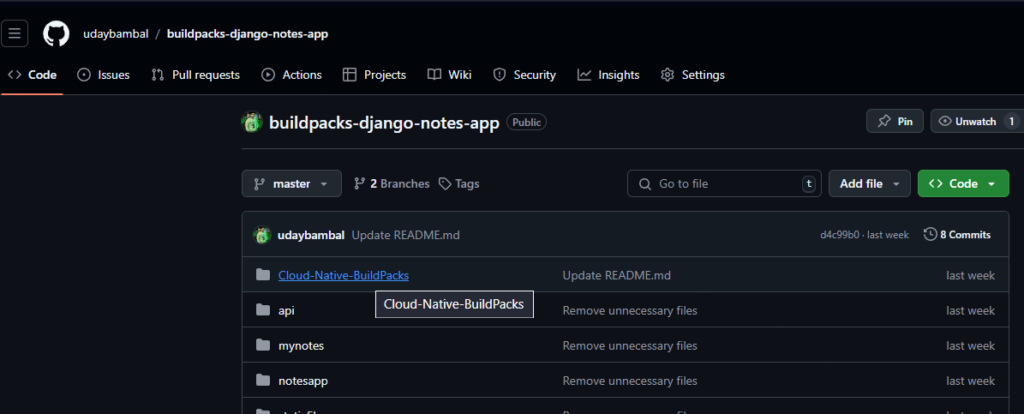
Now application of BuildPacks is so easy. Just follow the instructions as shown in the folder Cloud-Native-BuildPacks
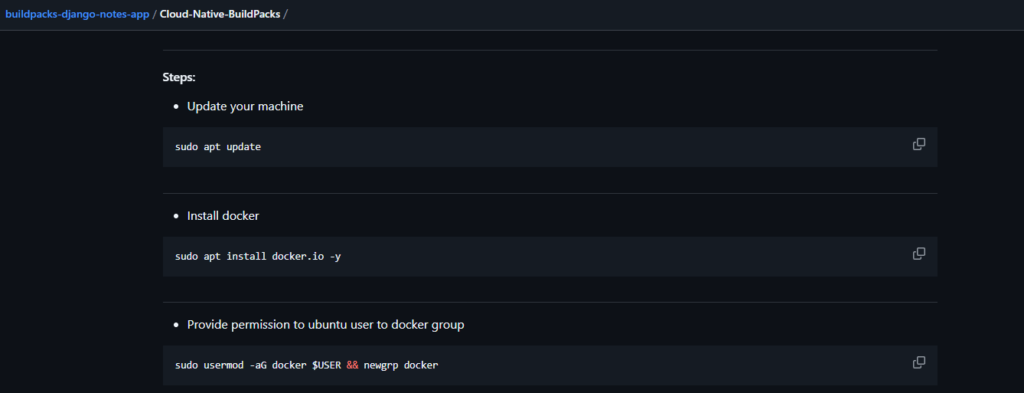
sudo apt update
As we need to build docker image and container to get deploy. So docker installation is necessary.
sudo apt install docker.io -y
Provide permission to ubuntu user to docker group
sudo usermod -aG docker $USER && newgrp docker
Install pack utility to build image

sudo add-apt-repository ppa:cncf-buildpacks/pack-cli
sudo apt-get update
sudo apt-get install pack-cli


Get the Pack Builder
As per the code, BuildPack will suggest us, how the image will be created. And this can be done using command:
pack build suggestThe command pack build suggest suggests builder images that best match your application, making it easier to start without a Dockerfile.
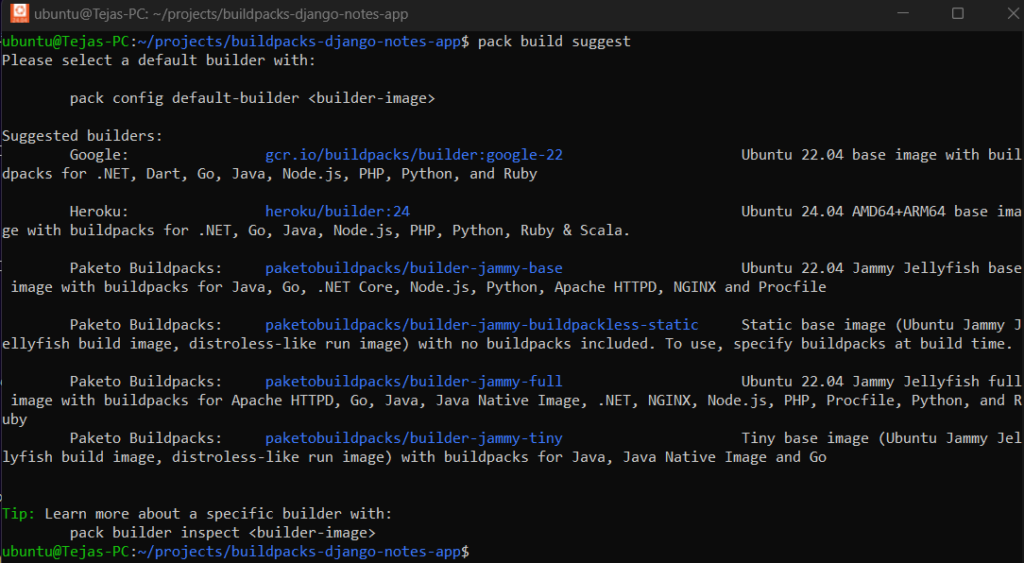
Here we will use suggested builder as Google (google-22)
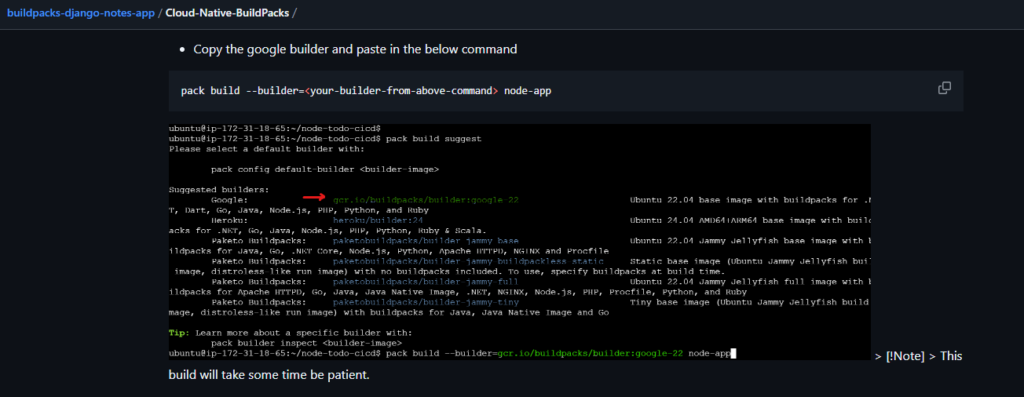
Copy the google builder and paste in the below command
pack build --builder=gcr.io/buildpacks/builder:google-22 notes-app

The command pack build --builder=gcr.io/buildpacks/builder:google-22 notes-app uses Cloud Native Buildpacks to package your app, notes-app, into a Docker image using Google’s buildpack builder. A step-by-step breakdown of each processing phase is explained below:
1. Analyzing
- Purpose: Checks if there’s an existing image for
notes-appand determines which layers (e.g., dependencies or configuration) can be reused to speed up the build process. - Process: Looks at previous build metadata for cached layers, like dependencies, so it can avoid rebuilding unchanged parts. This step improves efficiency and avoids redundant work.
2. Detecting
- Purpose: Identifies the type of application (e.g., Java, Node.js, Python) and selects the appropriate buildpacks needed to build it.
- Process: The builder inspects the codebase to detect what language it’s written in and what dependencies it requires, then matches it with the most suitable buildpack (e.g., a Node.js buildpack for a JavaScript project).
3. Restoring
- Purpose: Reuses layers cached from previous builds, such as dependencies, to accelerate the build process.
- Process: Any cached data, like compiled dependencies or runtime components from previous builds, is restored so that only updated or new elements need rebuilding, saving time and resources.
4. Building
- Purpose: Compiles and prepares the application environment within the container image.
- Process: Each buildpack in the selected builder performs its function, such as installing dependencies (e.g., using
npmfor Node.js orpipfor Python), compiling code, and setting up environment variables. This stage results in a fully configured, runnable app.
5. Exporting
- Purpose: Creates a final Docker image with all necessary layers to run the app.
- Process: The compiled application, dependencies, and any configurations are bundled into a layered Docker image, tagged as
notes-app. This image is then stored in your local Docker registry, ready to be run as a container.
Each step is optimized to ensure efficient, repeatable, and production-ready builds without requiring a Dockerfile! 😇
Successfully built image notes-app ! 😁
Which means you have created an image and that too without writing a Dockerfile.
You can verify this by checking list of images
docker images
Now create a container of notes-app
docker run -d -p 8080:8080 notes-app:latest
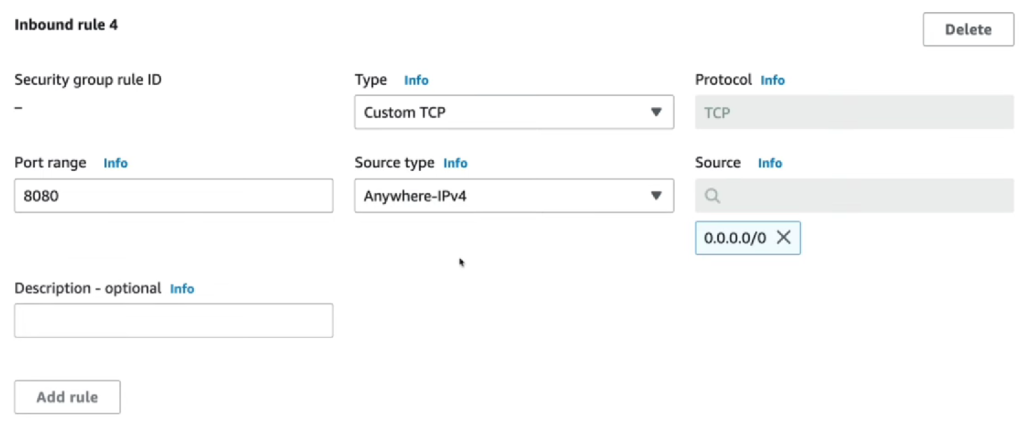
Export the Instance port 8080 from Inbound Rules of Security Groups.
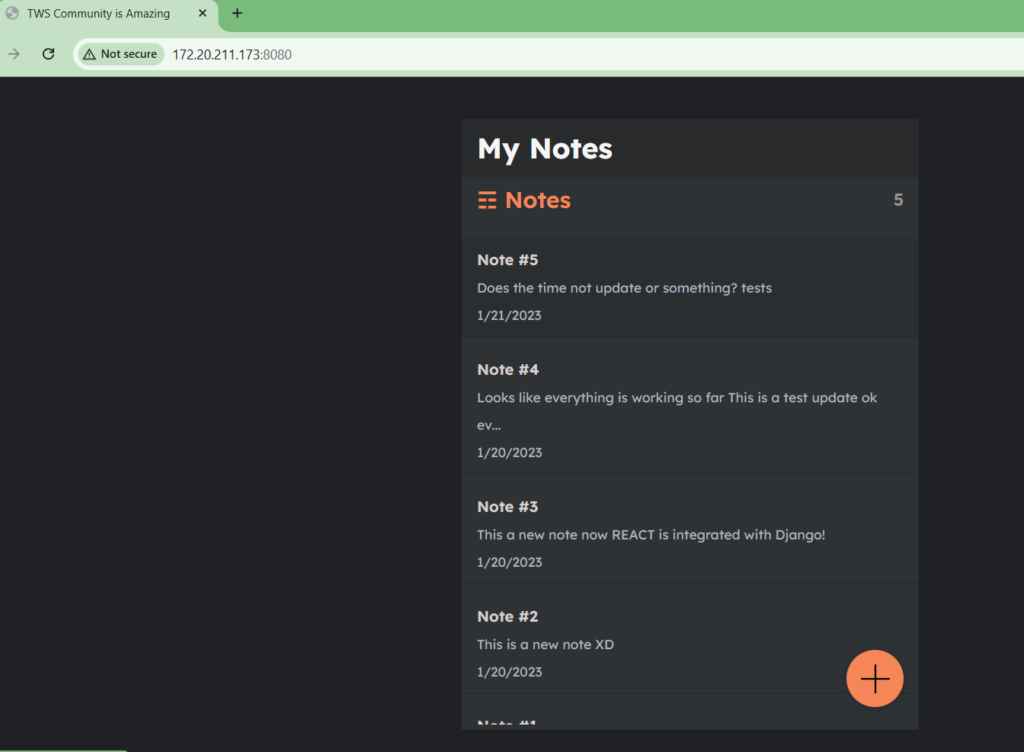
Now go to browser URL and type the private IP of your instance along with port 8080
Conclusion:
Buildpacks offer a powerful, efficient, and developer-friendly way to containerize any applications without needing to write Dockerfiles. By automating environment setup, dependency installation, and image layering, they simplify the containerization process while maintaining consistent, production-ready builds across environments. With support from the CNCF, Buildpacks integrate seamlessly into cloud-native workflows, making it easier for developers to focus on building their applications instead of managing complex container configurations. Whether for rapid prototyping or scalable production deployments, Buildpacks provide a reliable solution for modern, cloud-native application development.
Thank You!
Author: Uday Bambal

